There are many reasons why you may need to run Sitefinity on your local PC running Windows 10.
- You don't have the source code, just the deployed files, so you can't run the site within Visual Studio
- You want to work on cshtml and CSS changes in the fastest possible way (without having Visual Studio recompile).
Sitefinity can be very SLOW to startup after a build, so we like to minimize the number of times we have to do a complete startup. Note that starting with Sitefinity version 13, the startup time has been greatly reduced (another reason to upgrade!).
When you're running within IIS locally, you can make changes the ResourcePackages folder (for Feather development), change cshtml files in your MVC Views folder, and make CSS changes without having the website startup again.
Remember that Sitefinity is just a .NET website! So if you're familiar with .NET, these steps should be common for you.
Database Setup - SQL Express
Assuming you are using an existing Sitefinity website, then you'll need to restore a backup of that database.
You can use almost any version of SQL Express. For more recent deployments I use 2016, 2017, or 2019, depending on the client's request. Note that it's easy to go forward with SQL (such as 2014 to 2016) but almost impossible to go backward (2016 to 2014).
Make sure SQL Express is setup for remote connections.
Login to your SQL instance with SQL Management Studio, right click on the instance in Object Explorer, and select Properties.

Make sure 'Allow remote connections to this server' is checked.

Now you can restore the database to SQL Express.
Next, Create a Website in IIS
You can install IIS locally on Windows 10.
You can find this within the Control Panel under 'Turn Windows features on or off'.
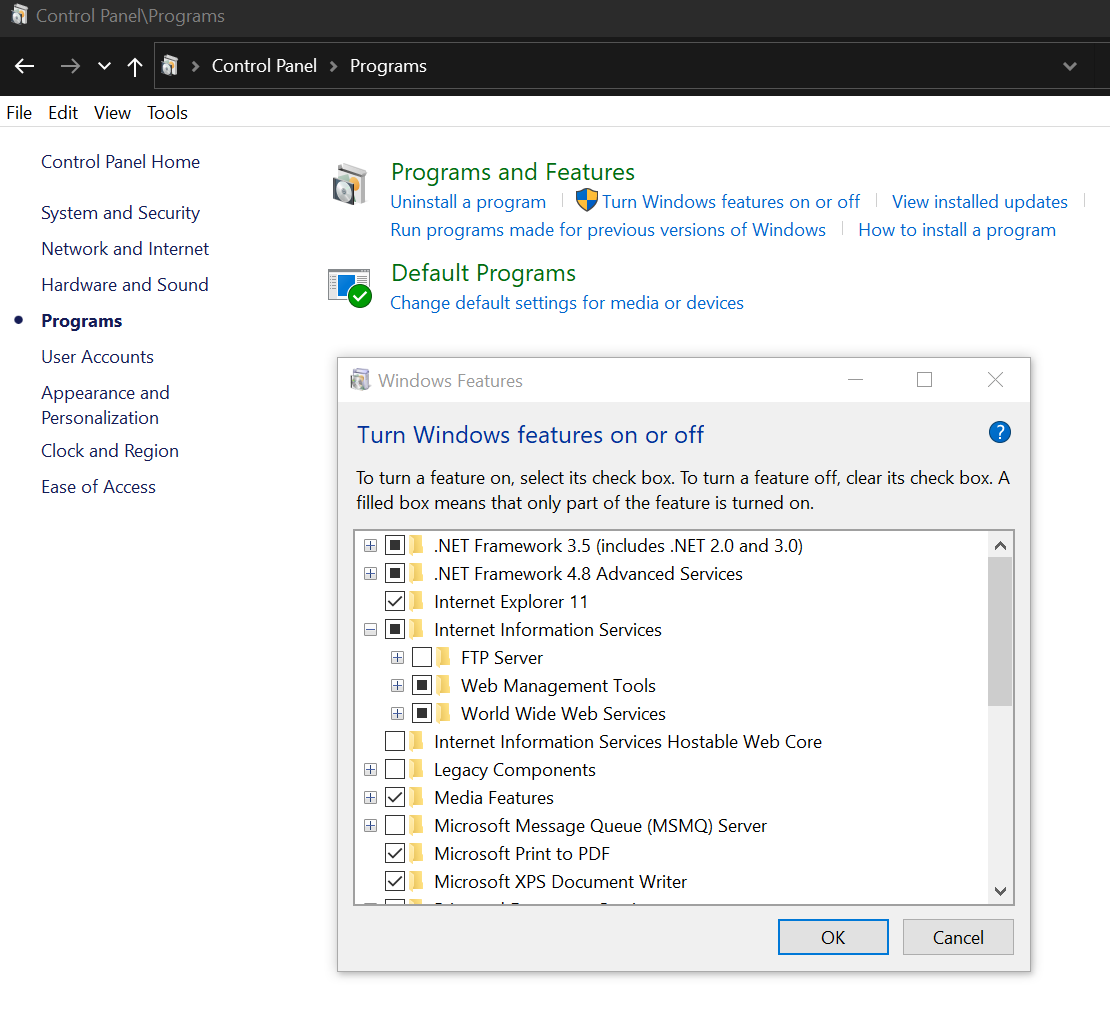
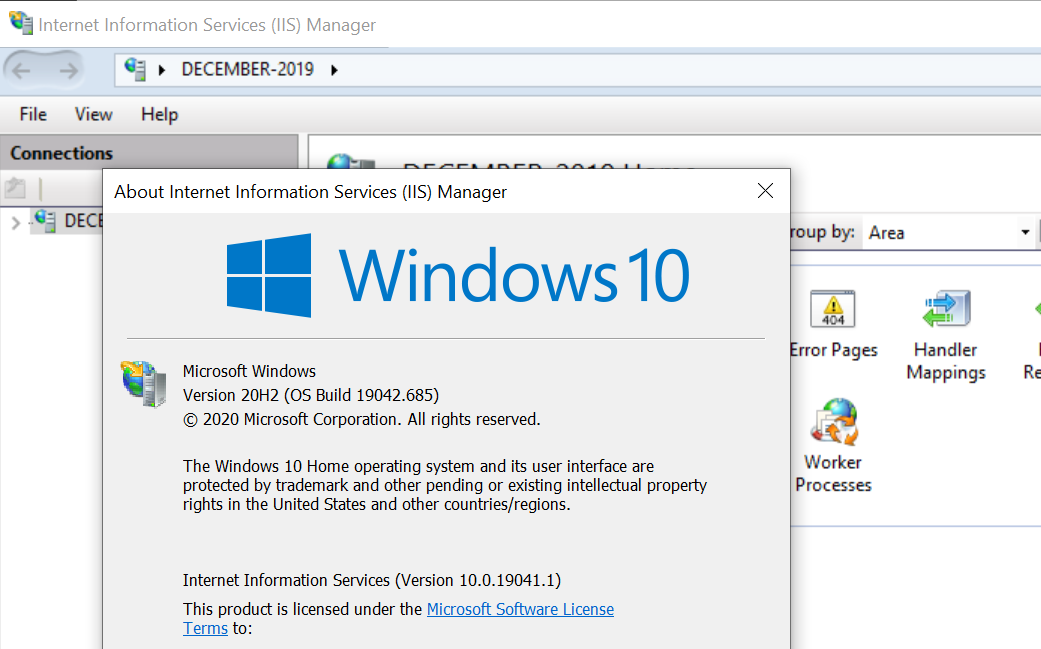
If you are already developing with Visual Studio, you might notice that you have IIS Express installed. What we're installing here is the full version, and when you do a search on 'IIS' from your Windows 10 search box, you should see IIS appear.
This is the version that was installed for me:
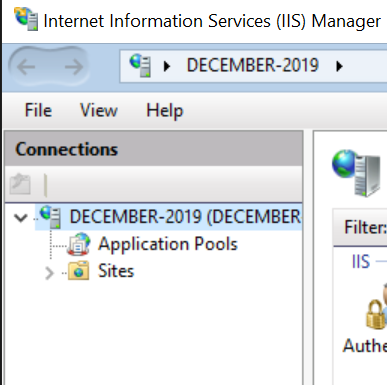
Once installed, you can add a website within IIS.
Right click on 'Sites' and select 'Add Website'

Note that we're just going to use localhost as the url, with a port of 8383. I have many sites running locally. The default is port 80, but you can't share ports with more than one website, so in this case I just picked 8383.
Note that the Application Pool automatically named 'sf926200', which is the same name as the site.
Go to Application Pools within IIS and makes sure that you have .NET 4 selected.

Publish and Copy Sitefinity Files
Make sure you are copying files from the published version of your site or from the web server and that you are copying to the same folder as you setup within IIS.
Change DataConfig.Config
If you copied from a web server, your database connection strings are probably not going to be the same.
Open Windows Explorer and change this file:

Change the 'ConnectionString' property to point to your local DB.

Run the site - Oops-HTTP Error 500.19!

You can look up the error here.
https://support.microsoft.com/en-us/kb/943891
In my case, I had a rewrite in the web.config that redirected all http traffic to https. My local IIS isn't setup to do this, so I had to comment this code out.
Recycle the Application Pool, and Browse the Site
If you change the web.config, the website will restart automatically.
If you have changes to make in the DataConfig.Config file, the website will NOT automatically restart (even though it feels like it should, since it's a Config file).
Recycling the app pool in IIS will do the trick.
Testing the Build Process
Running locally within IIS also allows you to test the build and deployment process before you need to move this to a test server.
Sitefinity does not always add the DataConfig.Config files to the published output. These files are not typically copied from a local development area to a server, as the settings within these files are server specific.
Editing CSHMTL Files
You can edit files directly in the ResourcePackages area (such as /ResourcePackages/Bootstrap4 if you're in Sitefinity v13.x).
Note that you don't have to recompile to get changes to appear with the CMS.
Likewise, assuming you are using a Pure MVC development environment within Sitefinity, as you add cshtml files under ResourcePackages/Bootstrap4/MVC/Views, the changes will automatically appear within the CMS.